one room challenge: shared girls' room reveal (week 6)
First, let’s be clear about one thing. My house will never be “finished”. Done for now, yes. Looking fantastic today, I hope so. But finished is not really a word in my design vocabulary. There is always room for change.
Today, though, for the purposes of this amazing six-week One Room Challenge, the girls’ room is finished. I’m pretty happy with it, but more importantly, the girls are happy with it. So here we go.

A little background for those of you who are new here (and welcome, by the way! so glad to have you!). This is the first time the girls have shared a room with each other. T, my first grader, has lived with her twin brother since they left the NICU, and A, now a 12th grader (!?!), has always shared a room with one or both of the girls’ older sisters. Honestly, I wasn’t sure how two girls of such different ages would live together, but A is incredibly easy going. No joke. T has a lot of stuff and her older sister has a lot of patience.
We started this project with a blank slate. Love me some white walls. The girls wanted a space for A to study and for T to play. They also needed storage as there is no closet in the girls’ room (coming soon if we ever remodel this charming little house). You can check out our progress here, here, here, and here.
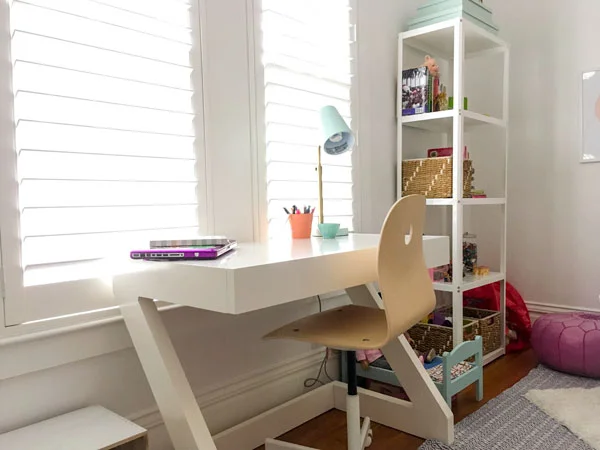
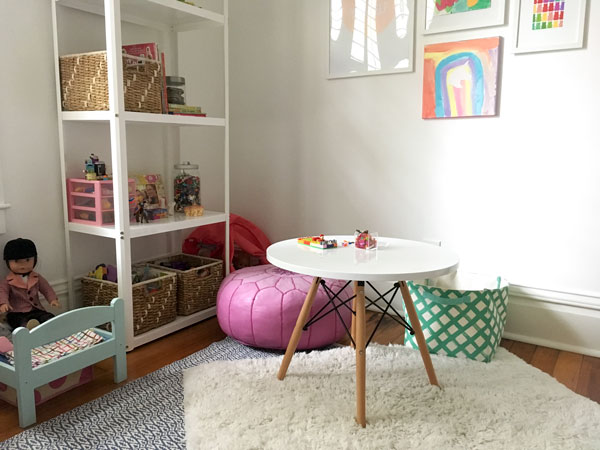
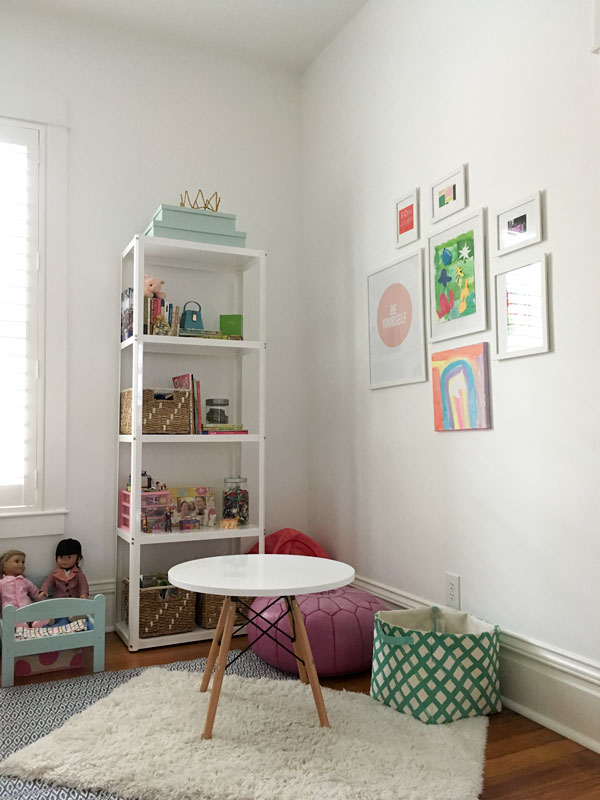
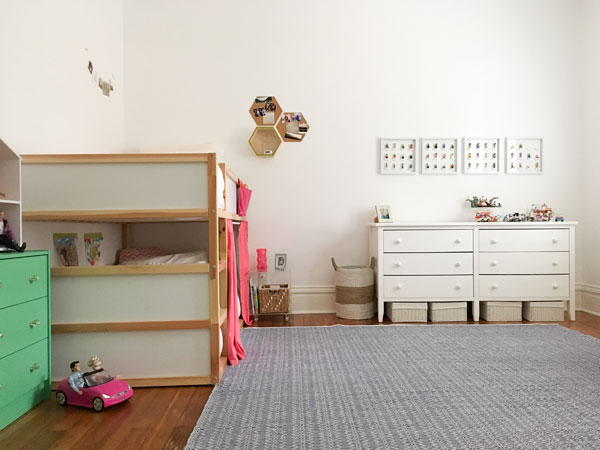
We added a desk (A’s choice) and chair (IKEA’s finest) for A and a table for T to build. T is still hoping Santa will bring her a new chair rather than our old pouf, but never fear, the lack of chair is not curbing her prolific Lego building.
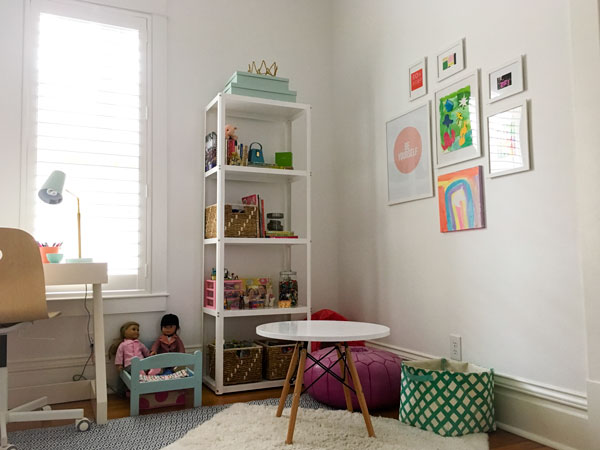
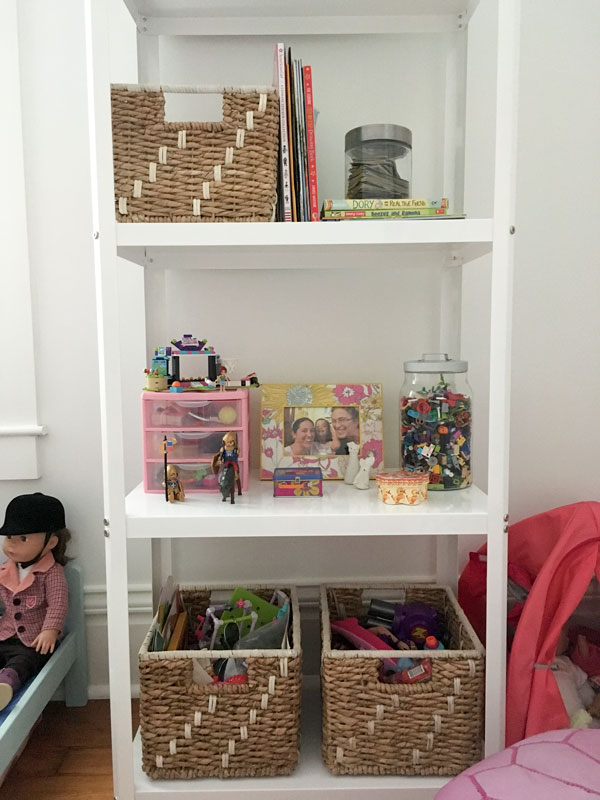
The girls share (I use the term loosely as you will notice 3 of the four shelves have T’s stuff on them) a bookcase between the two zones. Given T’s penchant for packrat, we added a painted Target bin for Abby to use as additional book storage on the other side of her desk.
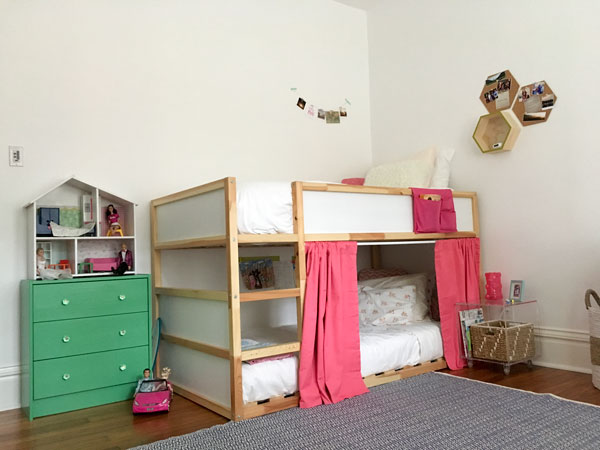
The two biggest changes in terms of impact are the addition of the rug and curtains on the bed. We went thru several choices for each, but this rug was the clear winner. I can't recommend Dash and Albert rugs enough (and I wish they were paying me to say that, but they aren't). We've had many over the years and the households, and these rugs hold up really well to kids, life, dogs, etc.

The curtains were a last minute necessity as A's homework is usually being done during T's bedtime. We are still working on getting the curtains all the way across the bed, but for now, these block enough light to make falling asleep a bit easier. T also now has space to hang her extensive collection of art right next to her bed.
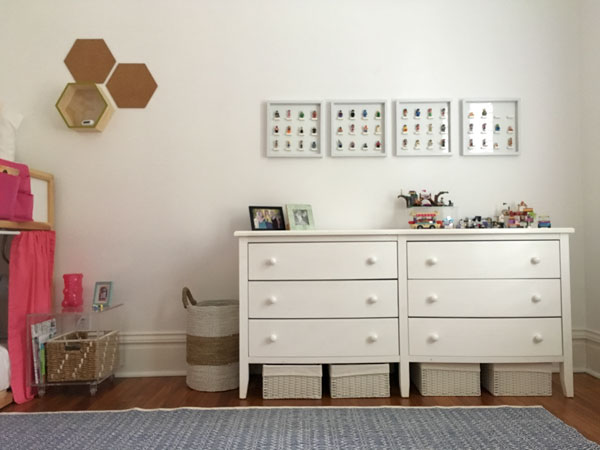
Under the existing dresser, we added shoe bins. (P.S. I truly can’t stand that dresser but it has been with us since the older girls were very young and considering that we bought it for $100 or so at Fred Meyer, I’ll say it’s held up very well. That won’t stop me from donating it immediately when the closet gets added to this room.) Let's be honest. The shoe bins were really for me.

We also added a small dresser for additional clothing storage, which I painted Sherwin Williams Eco Green (the knobs are from Target). Behind the door are two peg rails so that the girls can hang hats, sweatshirts, robes, scarves, binoculars, swim goggles, etc. Good thing neither of the girls really cares for dresses.
A had picked out this great photo for above her bed, but it has been on backorder forever, so that will have to come later. For now, we added two pin boards and a small shelf for her photos and notes, and this cute banner for additional photos.
The lonely painting on the “play” wall has been joined by another of T’s artworks, as well as some photos I pulled from various sources. The large poster T and I made together in Photoshop and had printed at Staples. The words were T’s choice. Total cost of the art wall? Less than $45. IKEA frames for the win. (Remember how the walls aren't exactly nail friendly? I used command strips to hang everything in this room except the peg rails.)
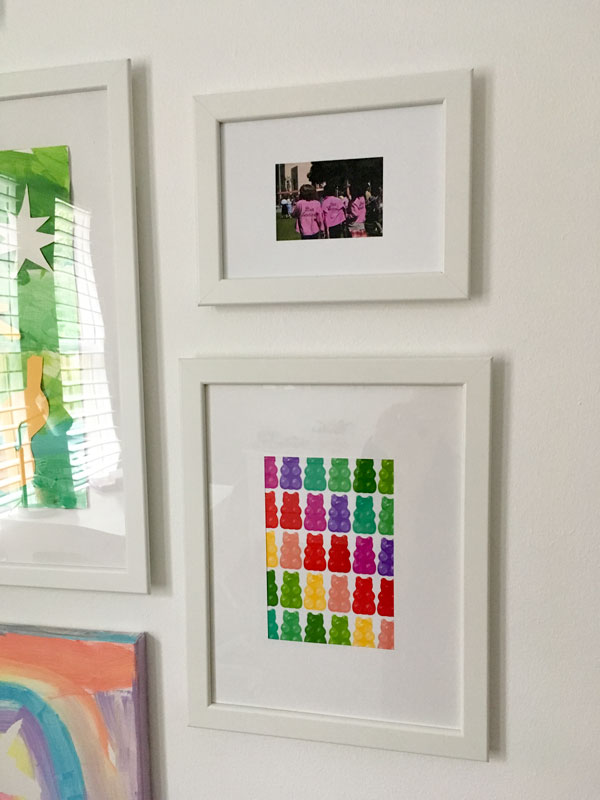
Gummy bears print made from this printable. Pink Ladies scammed from Internet.
Overall, the room feels happy and playful, while still having enough white space to feel restful. Thank you, Linda of Calling It Home, for having this amazing challenge that encourages us to finish a space and inspires us to new ideas. Check out some of the other great transformations (and if you haven't seen Chris Loves Julia's girls' room, you are in for a treat. The built-in bunks, the wallpaper... amazing.)
Maybe just a couple of before and after shots?

Before

After

Before
After